Search This Blog

Showing posts with label Adobe Lightroom Classic. Show all posts

Tuesday, January 31, 2023

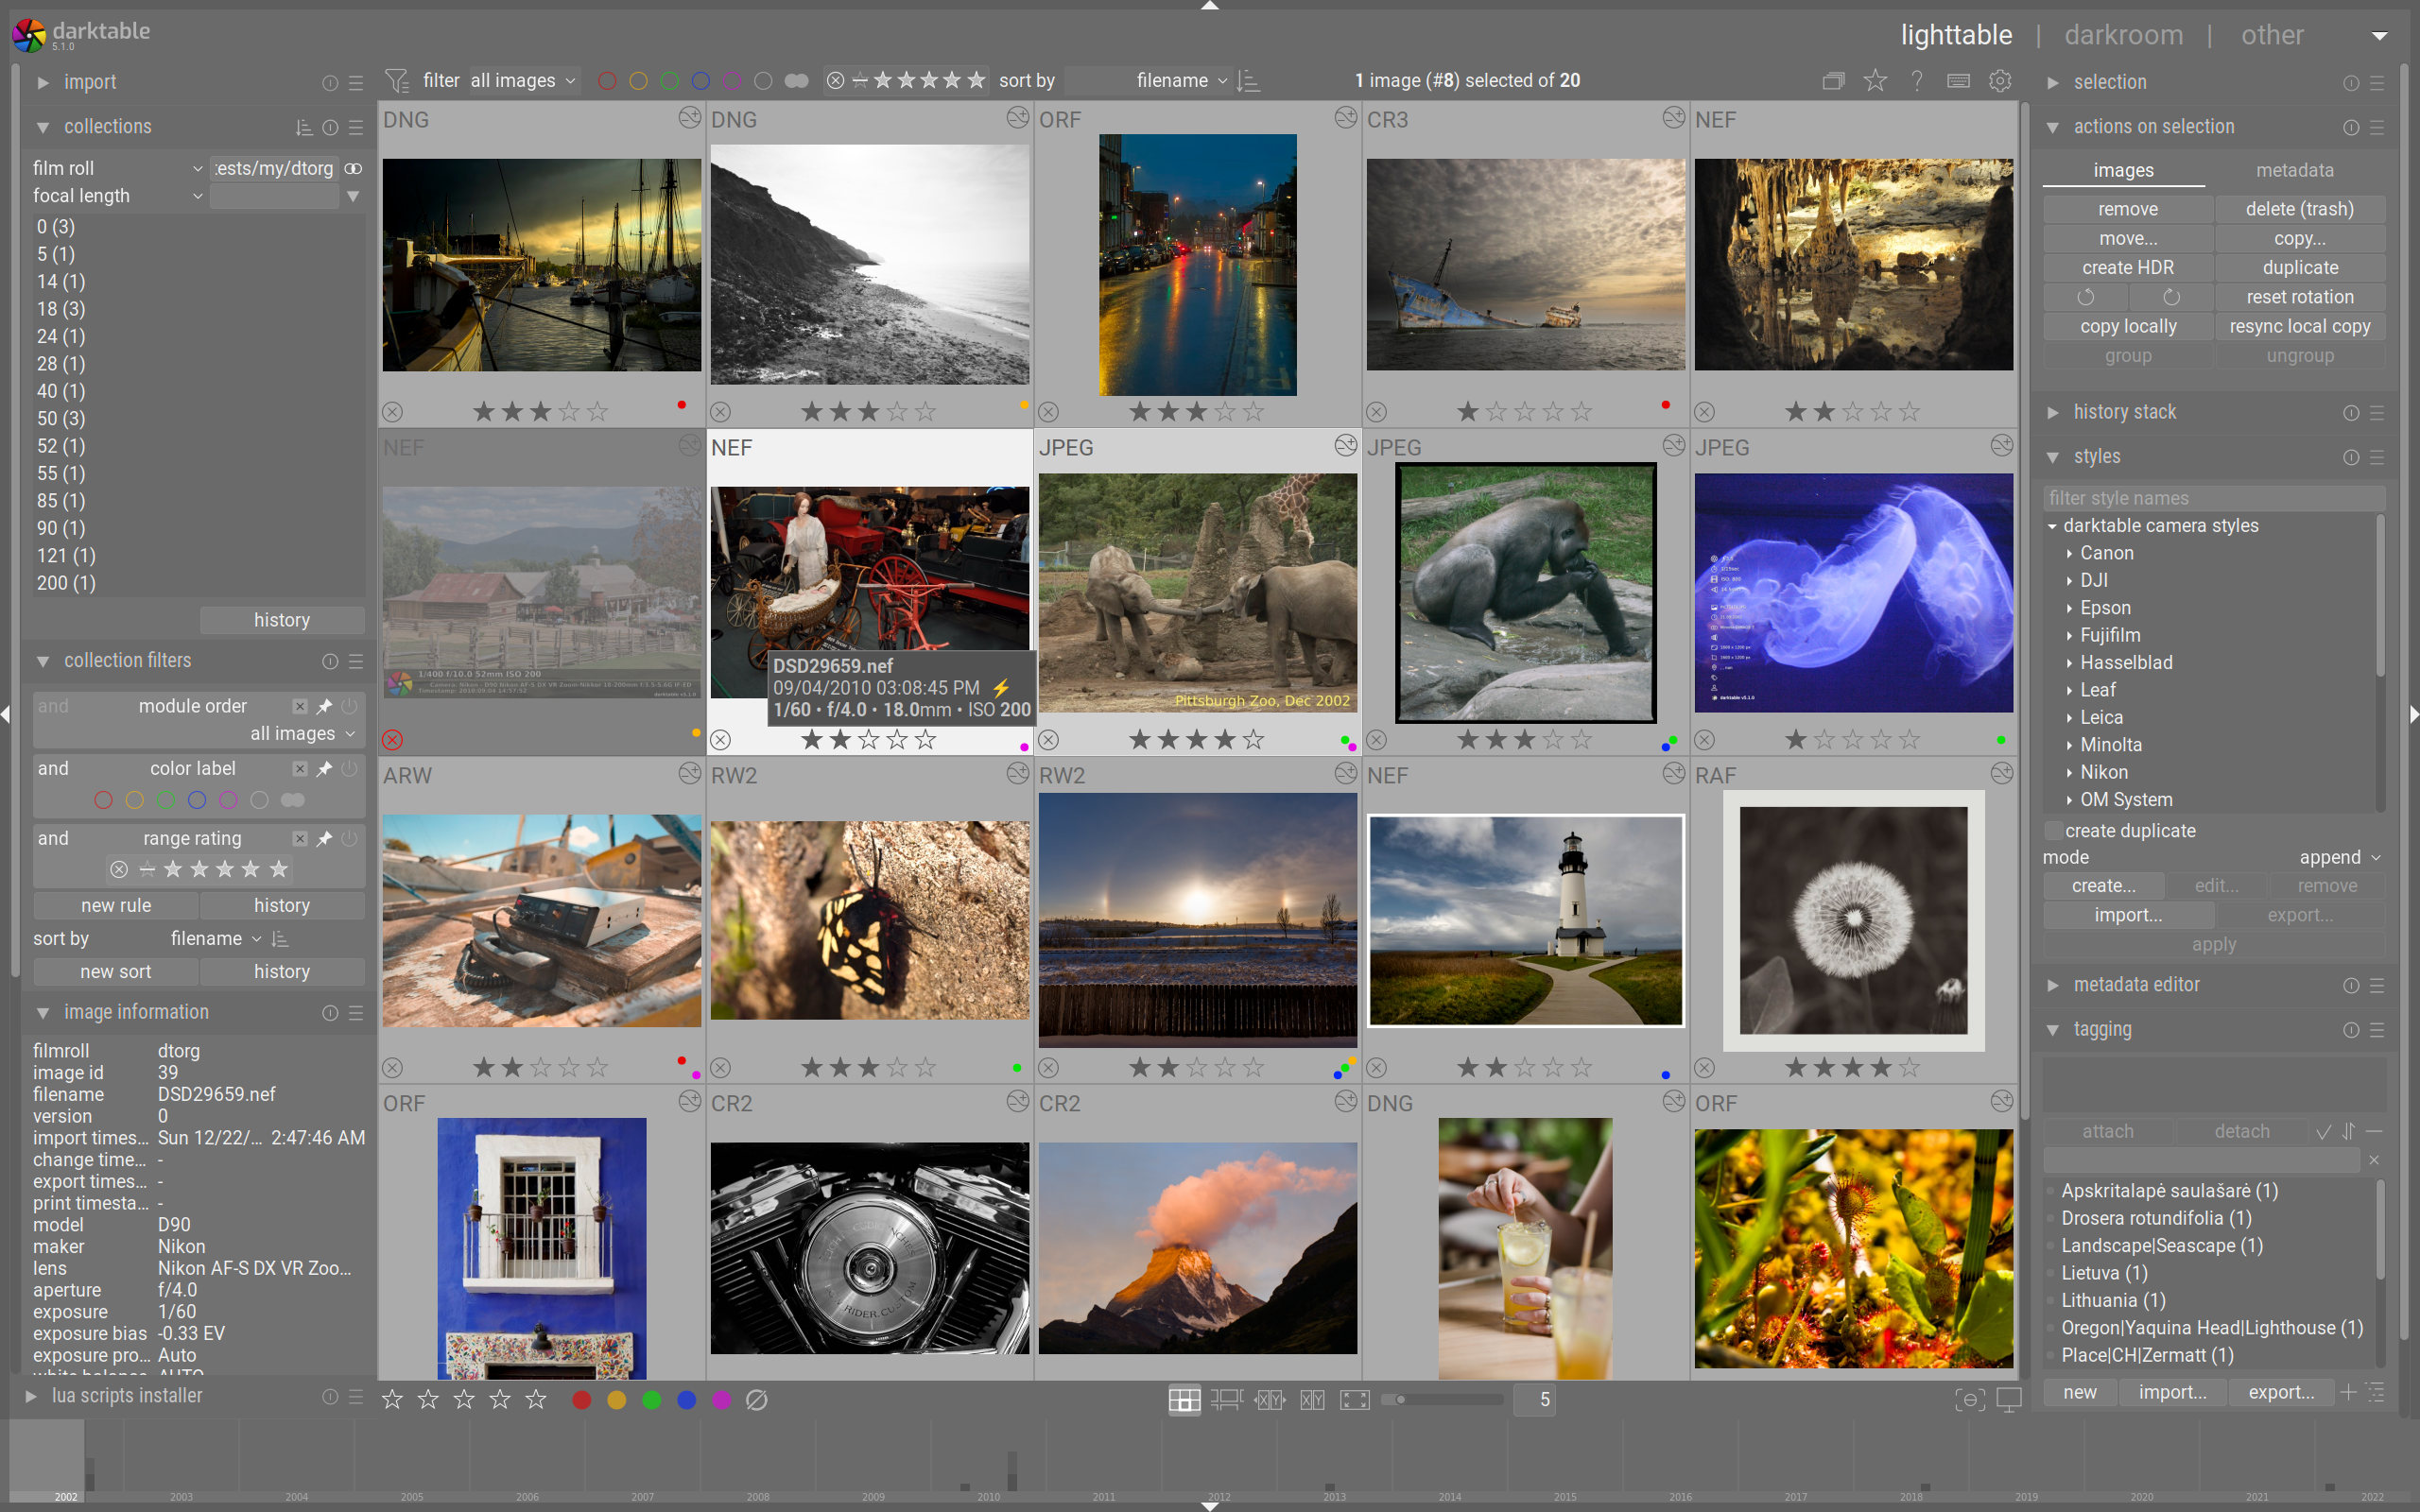
Darktable provides a satisfactory, free alternative to Adobe Lightroom Classic


    Years ago, I used to consider Adobe Lightroom (now Adobe Lightroom Classic) as Photoshop with training wheels.

    My thinking was that Photoshop was a much more powerful editor, so why waste time on Lightroom.

     But I decided to give it a try, and found it to be a versatile program, becoming my go-to for editing, as well as an excellent digital asset manager, allowing me to easily organize a catalog of more than 50,000 images.

    While it's a great program, it also comes with a high price, and with Adobe embracing the shakedown subscription plan, you pay for it monthly.

    There are "Jack Sparrow" versions out there, but there is one free, open-source program that is a rather acceptable alternative to Lightroom. In fact, I use it for my work, since we are only allowed so many software licenses and they're already in use and my bosses don't want a visit from the software police.

    I had tried earlier versions of darktable before when I needed a RAW file editor that I could install on a work computer without running afoul of the IT department. While it was a good editor, it lacked the ability to catalog, keyword, geotag and impose order on the chaos of picture files.

    But since version 4 has come out, darktable is giving Lightroom a run for its money. It has become a true DAM, allowing you to actually import photos to a specific location, add keyword tags, geotag them using a GPX tracklog, as well as edit them and export.

    I've been especially impressed with the noise-reduction algorithms, which I find give great results just by activating them. There's also an option to go in and further refine it.

    The control layout is not as intuitive as Lightroom's, but you have the option to search for the tool you are looking for.

    In addition to editing RAW files, darkroom can also handle jpg, tif and even the dreaded WebP file format.

    (That's Google's new image format that web developers are now using just because Google says it's cool, even though it's a departure from the company's motto "Don't Be Evil.")

    It's free, and if you can write code, it's open source so you can modify it if you so choose. It's available on Mac, Windows and Linux, and it can interface with GIMP, the open-source version of Photoshop.
Tuesday, September 27, 2022

Panoramas allow you to go wide, even if you don't have a wide-angle lens

        Baltimore Harbor, as seen from the ramparts of Fort McHenry.

     Panoramas are probably one of the oldest types of photos, dating back to daguerreotypes with sweeping views of cities.

    It is a format that's especially good for landscapes or if you're capturing something really large. Photographer David Bergman has done "gigapans" where he captures ultrahigh resolution panoramic shots where you can zoom in on individual details in the photos.

    There have been special cameras made for panoramas, including some that had rotating lenses that would cover multiple frames of film to capture the image. But a more common way to do it is to put multiple pictures together, which is how the originals were made.

    In this day, it is fairly easy to make panoramas regardless of what camera you use, especially with computers doing the stitching seamlessly.

    If you have a cellphone camera, you most likely have a pano feature built into the camera. All you have to do is press the shutter button and move the camera in the direction shown on screen to capture a panorama.

    The key to a successful one is to keep the camera steady, not jerking it around up or down, which will ruin the photo.

     If you have another type of camera, be it a point-and-shoot, bridge, mirrorless or DSLR, there are ways to create panoramas. It involves taking a series of pictures and then stitching them together in a computer.

    To get the best results, you want to shoot in portrait (vertical) orientation, as this will make assembling the panorama easier, as there will be fewer awkward edges that will have to be cropped out.

    You also want to lock your exposure to ensure the pictures have a uniform look, or the finished picture is going to look awkward, unless you spend extra time balancing out exposures in post. You should have some overlap, about 10-20 percent, to make it easier to join them and avoid any gaps.

    There are a few options for stitching them together.

    One way is a bit more artisanal. Basically open the pictures in your photo editor and line them up, doing some cropping and masking to eliminate seams.

    Some photo editors, such as Adobe Lightroom Classic, will automatically stitch the pictures together into a seamless panorama.

    There are also free software options that will stitch your photos together. One of the best is Hugin, which runs on both Windows and Mac, that lets you stitch traditional 180-degree and 360-degree panoramas.