Search This Blog

Thursday, May 21, 2020

Getting ready for your video closeup

   With the coronavirus pandemic keeping most of us at home, more people are using videoconferencing to stay in touch.

    People are using Microsoft Teams, Zoom and other platforms for business and socializing.

    In many of these conferences, the participants look a bit pale, mainly lit by the glow of their video screens, which if there's other lighting in the room creates color shifts as the webcam tries to find a white balance.

    If the room is dim, the image will be grainy.

    And there's a lot of room tone as people use the microphone on their computer for the sound.

    For some people, that may be enough, but there are simple but effective ways to improve the quality.

    First, improve lighting. You don't need one of those three-point softbox setups some of the professional Youtubers use. I found that a simple desk lamp is more than enough to light me up properly, giving me a cleaner look on video.

This is where I do my work video calls/conferences. The light on the right just clamps to the desktop and lights up my face. I use a headset for the audio, and I've been pleased with the results these past two months.

    As for sound, you can either use a headset, a lav mic or even one of those hands-free devices for cellphones, as long as it has a plug that fits into your computer. That's usually enough to ensure you don't sound like you're talking from the bottom of a chimney.

Monday, May 11, 2020

Does your bag unzip on its own? Clip it

    My camera bag is a bit like a clown car.

    There's a camera body, a couple lenses, neutral-density and polarizing filters, flash light, audio recorders, mic, batteries, charger, cables, notebook and other things. Once, while going through a security checkpoint at Downtown Disney in Anaheim, Calif., the guard found a mechanical pencil in there I thought I had lost.

    This does present a problem. The one compartment will tend to unzip itself due to the weight. And it's not just a problem with my Manfrotto bag. Joe Edelman, who does TogChat Live on Youtube, pointed out that a bag he got had the zipper positioned in a way that the weight of the bag would cause it to open catastrophically.

    (Please don't tell me to just carry less gear. Would you honestly tell Tiger Woods he only needs two golf clubs?)

    I've put the zippers to one side, but that can be a bit of a hassle. So, after another incident where things came tumbling out of my bag, I came up with an idea to put some kind of clip through the handles of the zipper to keep it closed. My first experiment was with a paper clip, which worked well, but I decided I could do better.

    I took one of those small carabiner clips you get at dollar stores for holding car keys or other things (I use one to attach a water bottle to the outside of my bag when I travel). I threaded it through the holes in the zipper handles, and it works. Plus, it also creates a deterrent to anyone who might try to pickpocket the bag.

The carabiner's a bit of a tight fit, but it doesn't let the bag zip open, and it deters potential thieves.

Monday, April 20, 2020

Secure lenses, caps in camera bag with Velcro-style fasteners

    A couple years ago I got a Manfrotto Active Backpack 1 to replace my LowePro Mini Trekker.

    One of the things I like with the Manfrotto bag is that the camera and its lenses are in a compartment I can access while keeping a strap on my shoulder. I had to take the LowePro off every time I needed to get inside it.

    But I've noticed that when I've opened the camera compartment, some of my lenses were slipping. I almost lost a nifty-50 that way. I needed to find a way to secure the lenses better.

    The solution was at the local dollar store.

    Inside the camera compartment, it uses hook-and-loop fasteners (the generic form of Velcro fasteners) to secure the compartment dividers. I decided to take advantage of that to secure my gear.

    I bought a 10-piece set of 1-inch square hook-and-loop fasteners (generic Velcro fasteners) at the dollar store (the one I went to was Dollar Tree, but the names vary depending on where you live but the concept is the same; everything is a buck).

    I cut a hook piece in half, so it was .5 by 1 inches, and used the adhesive backing to apply it to the middle of my lens cap. It worked, in the sense that the piece on the lens cap caught hold of the inside of the bag, but it came right off.

    I solved that by using hot glue to attach it to the cap. I would recommend using one of the genuine hot-glue guns and not the "cold" guns, as the hot ones have a stronger adhesive. And it worked, keeping my lens secure.

    I've since applied it to all my lenses, and found it can even secure the camera body when the lens is attached.


    As a side benefit, the fasteners can also be used for holding on to the caps. You can either stick it inside the bag, put a piece of loop material on your camera strap or put some on one of those lens-cap tethers. If you do the latter, I would recommend attaching the tether to the strap lugs on your body instead of the lens, since it likely will get in the way on the lens. 

Tuesday, April 7, 2020

Jared 'The Fro' Polin offering free photography training downloads during the coronavirus pandemic


    Most, if not all, of us are pretty much confined to home in an effort to beat COVID-19 into submission.

    And while it's necessary, it's also giving people cabin fever, especially parents trying to keep their kids occupied. Fortunately, I can still work from home and get out occasionally (I'm deemed an essential worker by my state government and have a letter of transit that lets me go out for work).

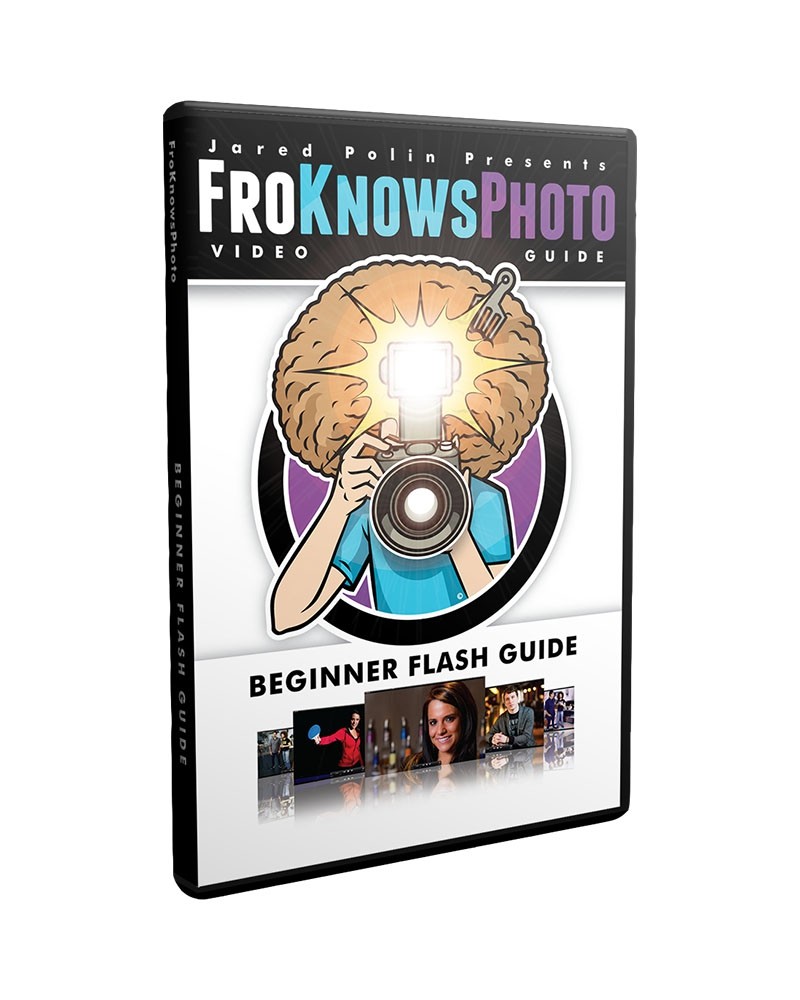
    Jared Polin, of froknowsphoto.com, is proving himself to be a genuine mensch during this trying time. Polin has offered two of his video guides, FroKnowsPhoto Guide to Getting out of Auto and FroKnowsPhoto Beginner Flash Guide for either free or whatever people feel like paying.

    The offer was meant to help people who are homebound to learn more about photography, or help their kids learn photography. While they are free, Polin said people who want to pay something can.

    He estimates that more than $1 million worth of the videos have been downloaded. It's a limited time offer, and let's hope and pray that this offer runs out soon.

    Thanks, Fro.

Wednesday, October 2, 2019

How to get rid of people (with Photoshop)

    Almost every photographer has experienced this: You want to get pictures of a building or a landscape and there's too many people around.

    I've had times when I just wanted to unload a fire-extinguisher-sized can of pepper spray on people who were ruining my otherwise good shot. But there are a couple ways to make the crowds disappear that won't get you a criminal record.

    However, both require an investment of time — and a tripod.

    The first involves the oldest camera trick in the world. It's how early photographers got cityscapes in broad daylight that were devoid of people: Long exposure.

    Back in the day when ISO, if it could have been measured, was in the single-to-low-double digits, a photograph could take anywhere from a few seconds to a minute or two to expose. Most people walking about in such a photo would not register on the plate. Only people who didn't move too much would show up as ghosts, though.

    We can achieve the same effect today, even with cameras that have faster sensitivity levels at their lowest end than Louis Daguerre could have imagined possible.

    First, mount your camera on a tripod. Unless you are dead, you won't be able to hold it still long enough.

    Second, stop down your lens as far as you can and then, if that's not getting you a speed slow enough, put on a neutral-density filter. Variable ND filters, either professional or one you make yourself, will let you adjust it to get the slow speed you want.

    (If you really want to go hard-core, use a piece of welding glass, but just remember that you'll have to do some serious white-balance adjustment later.)

    Third, use a remote shutter release to take the picture, and if it works out, it should look like a ghost town.

    The other way allows you to use more normal shutter speeds but gets you the same result, although it may take more time.

    With your camera mounted on a tripod (because you don't want the camera moving around between pictures), take a series of pictures of your subject, making sure that you get people in different spots as you take pictures. Here's the set I shot while visiting The Alamo recently.


    If you notice, there's always somebody in the picture, but they're not always standing at the same spot. That's going to be important in just a bit.

    Bring the photos into Photoshop as layers in the same document and then auto-align your layers. Even if you did this on a tripod, this eliminates any accidental jostling of the camera between shots.

    Then, create a smart object with your pictures and, after it has finished that task, set the stacking mode to median. When you do this, Photoshop looks at your pixels as values, and as it compares the different pictures, it will use the pixel that is the average of the collection. What this means is that it will more often than not pick the pixel that has nobody in it and leave you with a scene devoid of people.

    It's not a perfect process. In my pictures, the guy in the red shirt didn't move far enough in two pictures, so there was some residual red left on the stones. Plus, the flag was fluttering a bit, which created some interesting ghosting. But the fix is to go back inside the smart object, find a clear spot for that section of the image and copy and paste it into the final picture, making sure you feather it sufficiently so that it doesn't look like a kid used a cutout and that paste-like glue they used to have in elementary schools that you applied with a tongue depressor.

    This is what I got:

Look, Ma, no tourists.